Sunday, July 31, 2011

Trailer Love!

Because we don't have enough project going on right now.... We decided to buy a trailer, to renovate! Hooray!

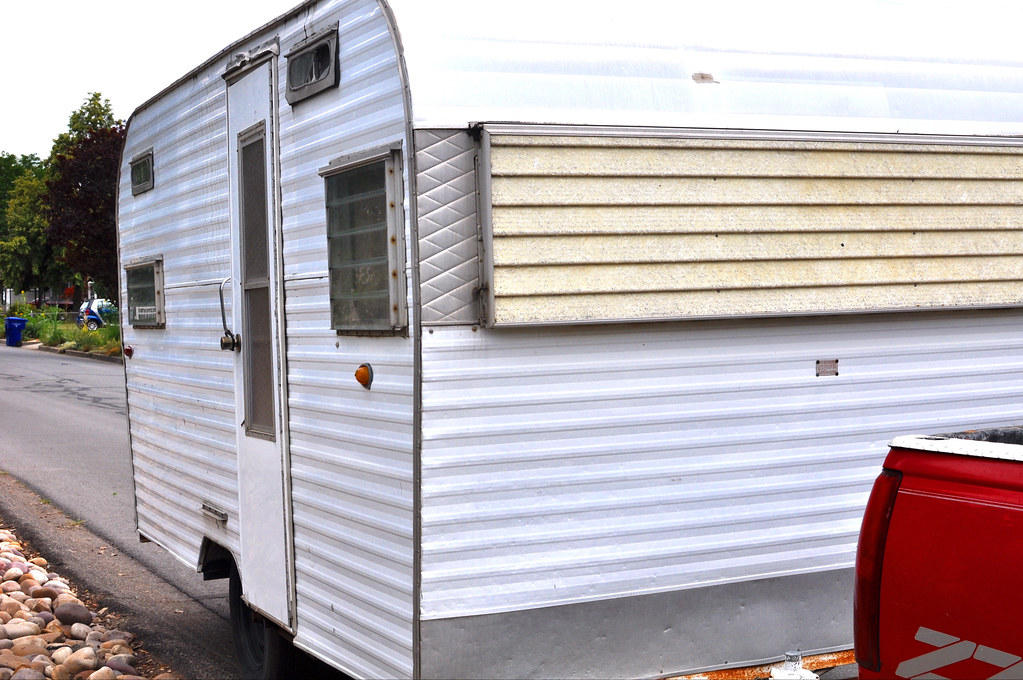
HA! Renovating a trailer has been something I have wanted to do since we have been married... Drew kept telling me, you buy the trailer, and I'll fix it..... I'm not sure Drew knew how serious I was... I have been looking up renovated trailers for a long time.... Using the law of attraction to welcome one into my life.... Smiley face.... For the last few years, every now and then I would check the classifieds to see if any were available for the right price... I text a few people about their trailers, but never really followed up with any... One morning last week, out of sheer boredom I looked up trailers.... And this little beauty was for sale! Posted 15 minutes before I looked... I text the seller and asked if they would go down $100 on their asking price.... They said O.B.O., so I didn't feel bad going in low. They countered with going down $50.... And Drew was on his way to pick her up! By the time Drew got there, the seller said he had 15 other callers, offering him MORE then his asking price! Luckily he was a man of his word.... And the camper is now ours! Hooray!

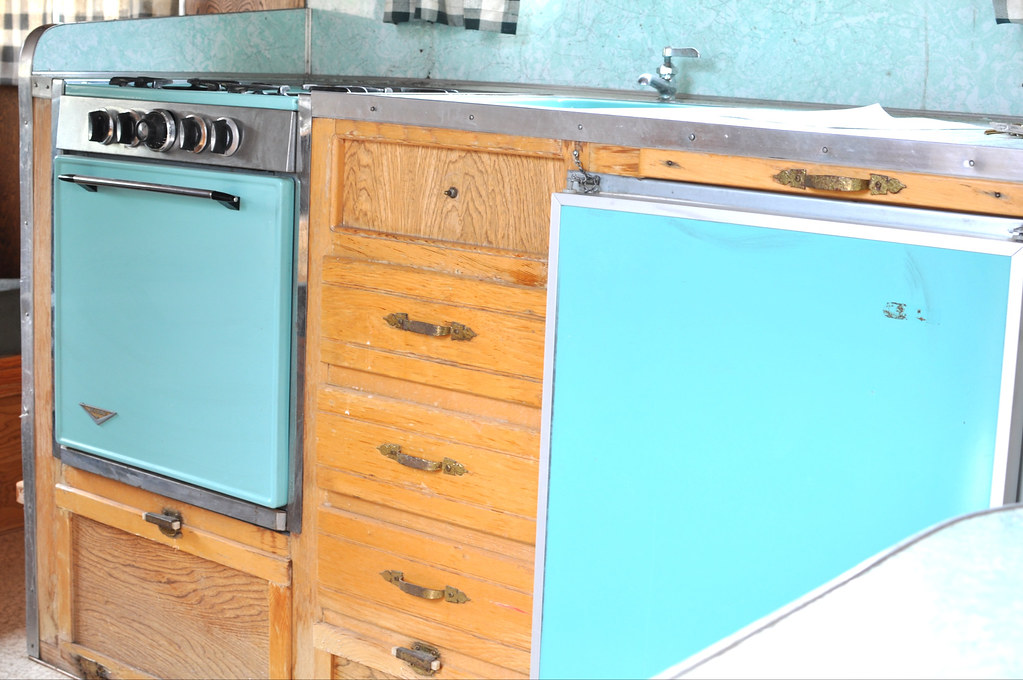
Want to see what sold me on this trailer?! The turquoise stove and fridge! What a wonderful starting point! All of these other colors can be changed easily, but a good stove, fridge and sink color.... That's pure gold!

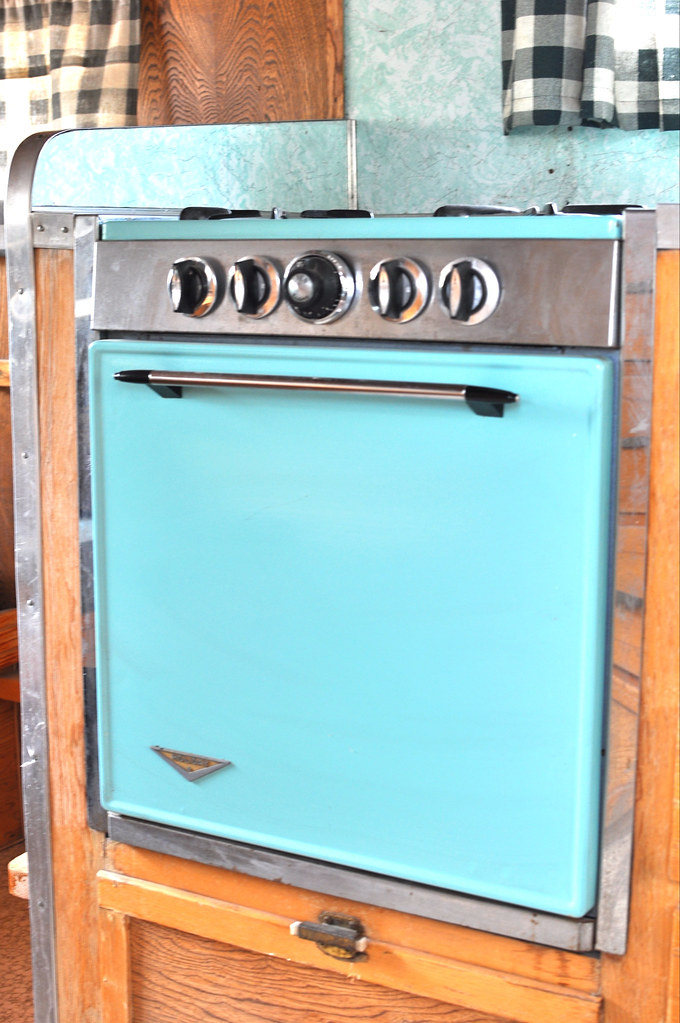
Isn't that color adorable?! I am thinking about finding some redd knobs to put on the stove.... Well there is a whole lot I'm thinking about doing, I just can't get redd range knobs out of my mind! Funn thing is, this stove is about the same size as the one we just put in our kitchen.... Cutie!

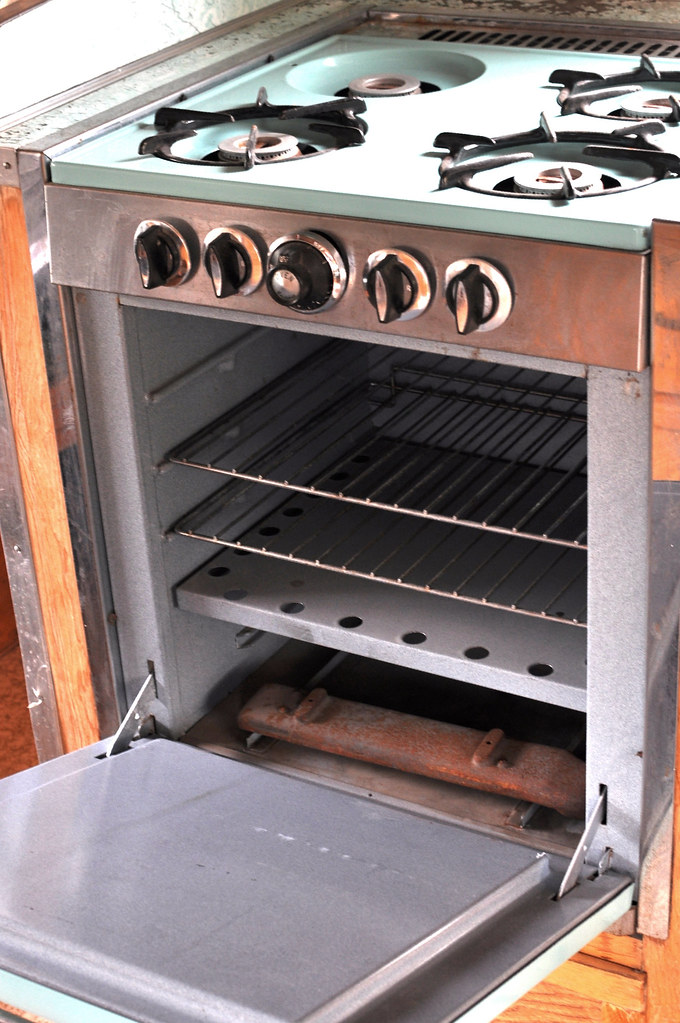
We're missing one burner, other then that everything else is accounted for, and working!

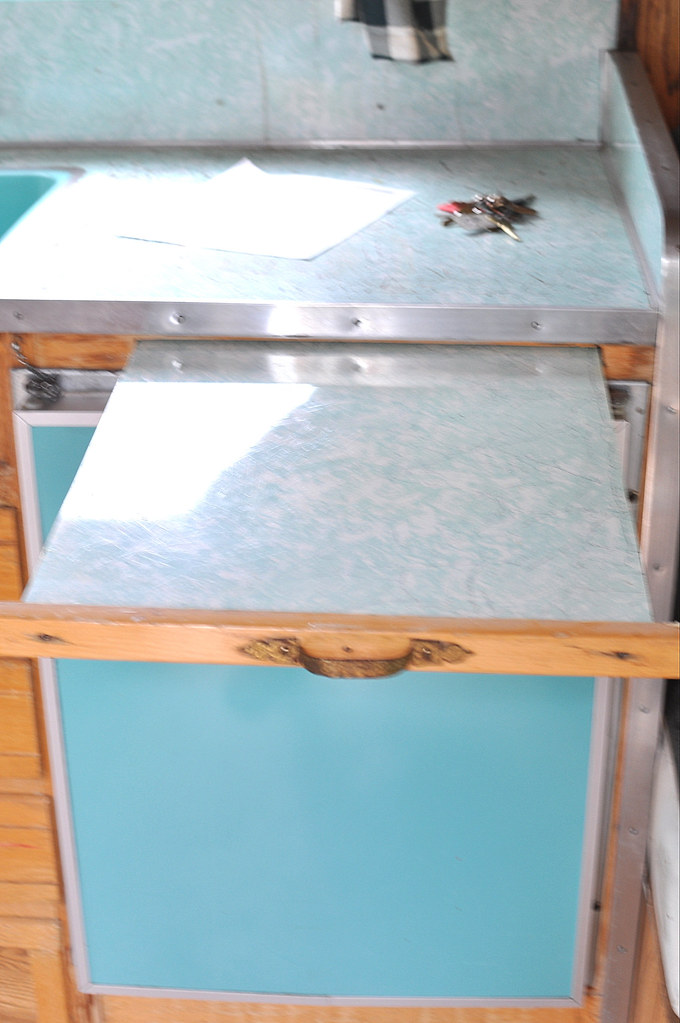
The counter and backsplash need to replaced, but there is a large amount of counter space (for a trailer) and an extra cutting board.... Major score! I think we will make a cutting board for over the range, and sink, to double the counter space.

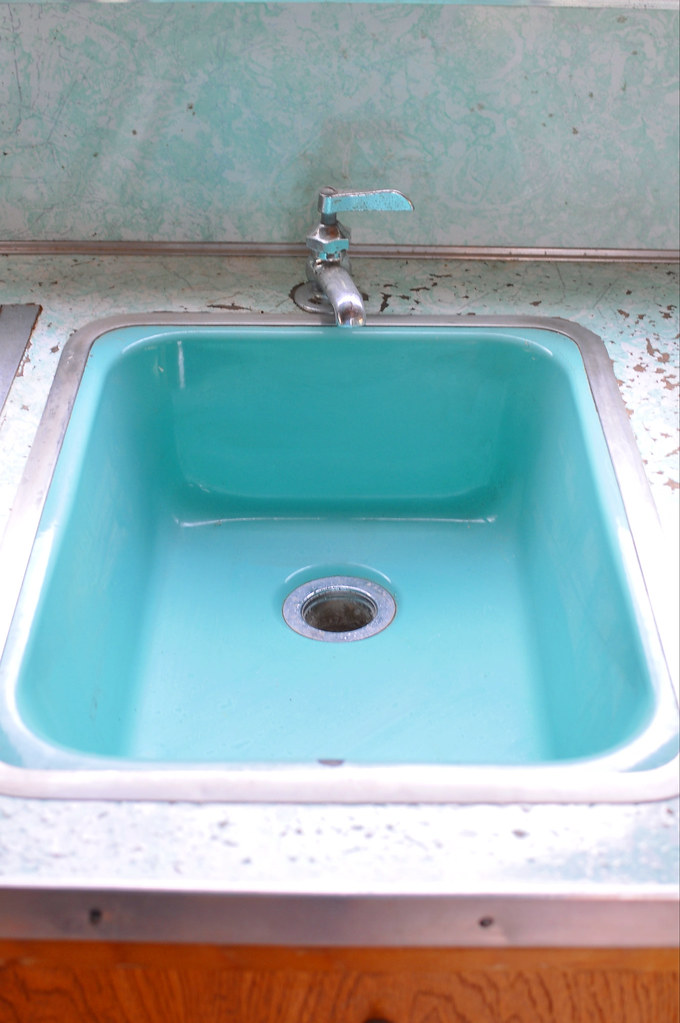
There is a little chip in the sink that isn't a big deal, but maybe we can find somewhere to refinish it.... In the turquoise color obviously.... In renovating the trailer, I want to make it new and different, without losing it's charm....

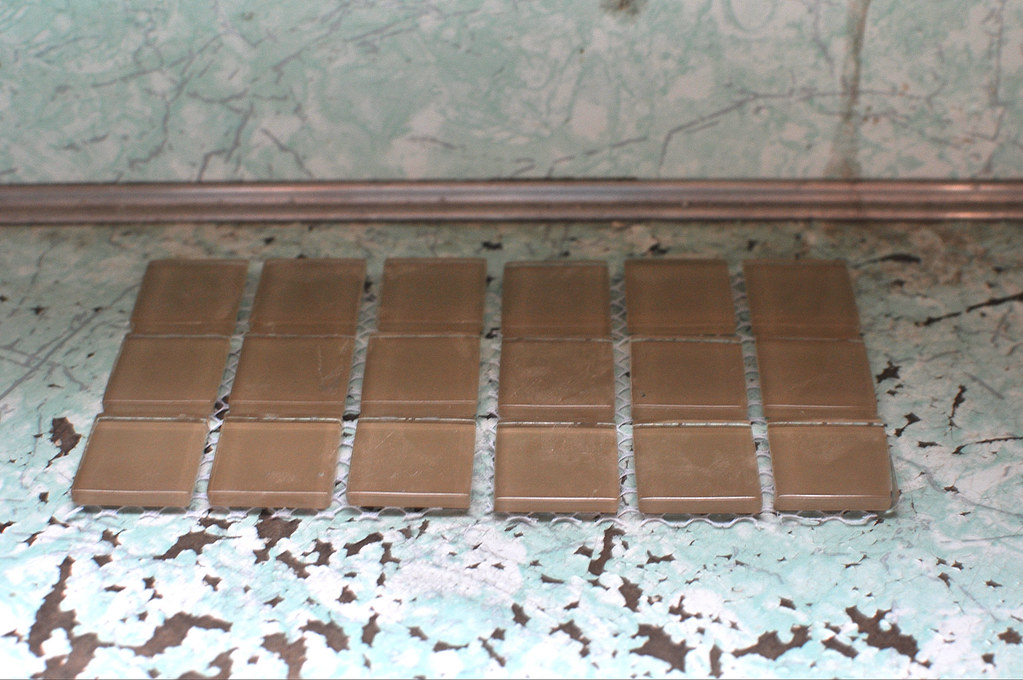
I'm thinking about using our extra glass mosaic tile, from our kitchen, as the backsplash in the trailer.... I think the brown will go really well with the turquoise....

I'm thinking about painting the walls and cabinets white... Or maybe just the bottom half of the walls white, and refinishing the wood on the top with a nice stain. Almost all of the renovated trailers I've seen keep the wood panel.... So maybe it's a trailer society thing.... I don't want to be the n00b who tries to sell a camper with painted white walls, and have that be a major faux pas in the trailering community!

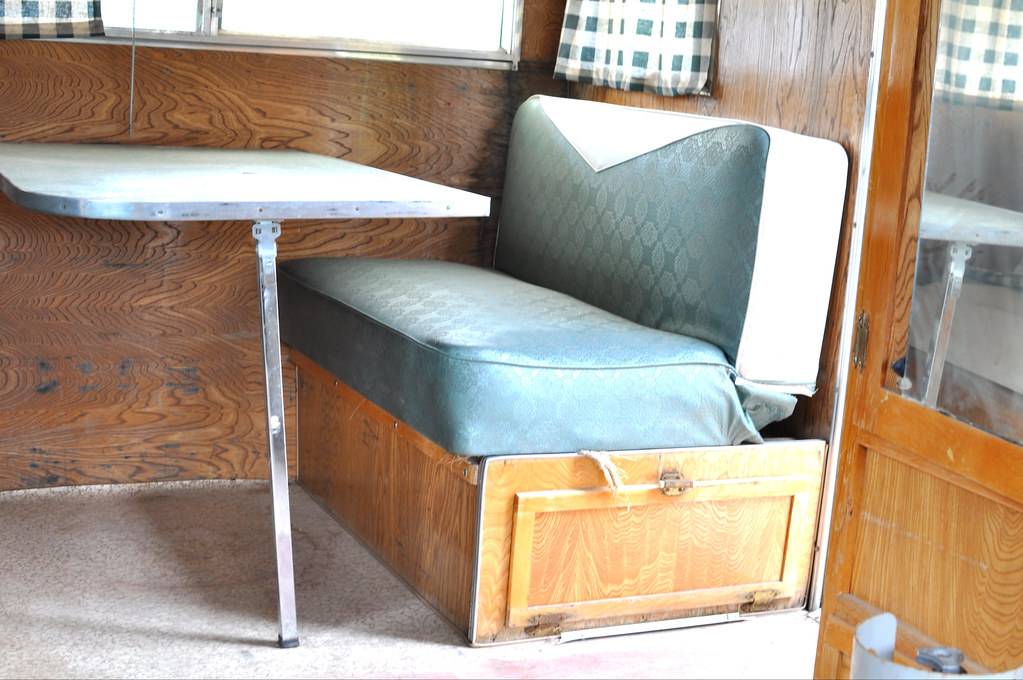
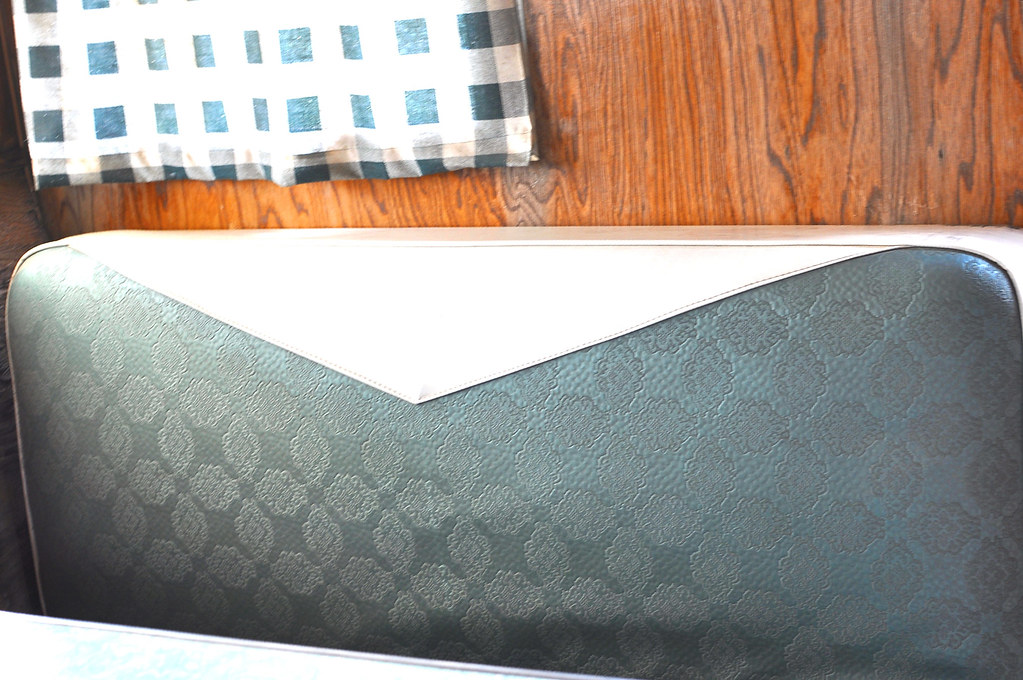
Look how adorable and vintage these original seats are! Definitely keeping them... They might just need a little TLC to get them in tip top shape..... But that top triangle.... Adorable! These seats lay flat and slide together and make a large full size bed... The table can be moved to either side of the camper.... Above these seats is a twin bunk, that folds away.


On the other of the camper is another couch that folds out to another large bed, and above that is another even bigger, fold away top bunk. We have just been beside ourselves, we are so excited about our new project.... Drew walked out side with his hammer and cat's paw ready to demo.... I reminded him of our bathroom with no walls, and the 10 sheets of Sheetrock in our hallway.... Let's finish the house before we rip apart our trailer... Who knows, we may be living in it until the house is finished.... It does have more intact walls.... Smiley...


Friday, July 29, 2011

T-Shirt Rug (Update)

Oh Pinterest... You've done it again! This time I found a Kids DIY, t-shirt rug. One afternoon we found ourselves searching a thrift store looking for 12 Boys Large t-shirts.

We gave them a good washing, to remove the thrift store smell, and make sure they were all as small as they were going to get.

This project was for Georgia who is 7, I probably wouldn't do it with anyone younger, unless they are great weavers already.

First we cut the t-shirts into one inch strips off of the shirts mid section. Cutting off the hem, and ending underneath the armpits of the shirts. So you have a bunch of one inch loops.

Then you loop 11 loops over a hula hoop, starting with one at 12 o'clock and 6 clock, then cutting those in half, 3 o'clock and 6 o'clock. Then continuing around the hula hoop in halves. When you start to weave you loop the t shirts through the warps.

The instructions told us to do 11 loops, I personally would have done a few more, so we could have had a tighter weave at the top of the rug. They also say to stop 8" from the hula hoop. We went almost until the edge of the hula hoop. And when we got to the end, I went back in the big gaps between warps and wove little strips in and tied them up at the top to match the warps. To give it s little more stability at the top.

Better instructions can be found on familyfun.com, this is just a brief tutorial to see if it's something you want to commit yourself to! It was a fun and cheap project. I'm actually thinking about finding grey and white t shirts, and making a rug for our bathroom....
(Small pictures from http://familyfun.go.com/crafts/hula-hoop-rug-995304/)


Thursday, July 28, 2011

Sprinkler

When we have kids, those are going to be some of the most entertained kids on the block.

Whatever crazy idea I come up with, Drew can make it a reality. Another pinterest find was a PVC waterfall/tunnel. I showed Drew the picture and we were off to Home Depot 5 minutes later. Rounding up PVC and glue.

And voila! Instant fun!

We improved off the pinterest idea, and put a slip and slide underneath the falls. Little kids trying to figure out how to slide provides hours of entertaiment. Both for the watcher and the slide attempter.


Polly enjoyed the never ending supply of cold water.


Wednesday, July 27, 2011

...Bubbles...

I saw some bubble recipes on pinterest, and thought we would try them out. I had no idea super bubbles were so involved. I got this recipe from an awesome party website: http://onecharmingparty.com/... Check it out for awesome party ideas! The recipe calls for:
5 Gallons Distilled Water (I guess hard water makes the bubbles break easier. So if you have soft water I guess you could use that.
10 Cups Dawn Dish Soap (not antibacterial)
2 Cups Karo Syrup
1 Small Pool
1 Hula Hoop
Let Bubble solution sit over night for best results.

This was a fun activity because kids love adding ingredients, and this was just like a giant mixing bowl. One bit of advice I would add would be to check your pool for leaks before you start. Our first attempt at the bubbles ended with sudsy sidewalks.

After letting it sit over night it was time to test out the bubbles.

It was a huge hit!

We started out standing in the bubble, and moved onto trying to create monster bubbles. We got some crazy big bubbles.

Summer memories made.... Check!
The actual post I got this from is here:
http://onecharmingparty.com/2011/05/27/human-bubble/

Tuesday, July 26, 2011

Succulents and Savers

A Savers just opened by us, and Drew and I stopped by to welcome them to the neighborhood... And welcome them we did!

I picked up three glass bowls for $0.50. So I started little terrariums.


With a little bit of research I learned you could raise succulents in a bowl without a drain hole if you layer the bottom of the terrarium with gravel. This let's the roots have room to grow and space to dry out. If you don't have gravel the roots will rot in the moist soil. Little FYI for you to put in your Michael Jordan notebook...


I also scored this cute porcelain bowl for a dollar! Perfect for perfect jewelry! How great is my Mother-in-law who sent me this necklace, while Drew was in Houston with them! I love it!


And I love my new Saver neighbor!


Monday, July 25, 2011

Water Bottle Bowling...

with my job I have the best of both worlds... I get to play, bond and love four adorable kids.... And I get to go home and sleep through the night... Smiley face...

Another benefit is I get to think of fun ways to entertain kids. Yesterday we made an at home bowling alley. It started with Drew and I saving our ICE drinks... From Costco... It's flavored sparkling water... And it's Ah...Mazing! I had my Oprah, "wow" moment when we sampled them.... Just kidding... I shouldn't joke about Oprah.... That's sacred....

Then we added food coloring to the water... Probably their favorite part... Each kid picked a color they wanted and they tried to figure out how to make the colors... They did great.... And we had A LOT of purple!

It was fun to watch the color sink into the water. The kids had a blast shaking the bottle, and magically have colored water bottles.

Then we lined up the pins.

And used $0.99 water noodles as bumpers. Not entirely necessary... But added to the overall aesthetics...

Then we got our game faces on.... And it was on!


The whole process produced about 3+ hours of fun...We learned about primary colors and math by keeping score... Adding and subtracting the fallen pins.


And we got really excited when we would knock down the yellow one... Not sure how that started... But it added an extra element of fun....


And Kate kept watch of her flower that got wacked by a rogue jump rope earlier in the day.


Friday, July 22, 2011

Things That Made Me Laugh So Hard... No Sound Came Out...

Mattress sliding at camp... I was the impromptu sled... So scary... So amazing!

These last six are brought to you via pinterest.

Darn that Narnia! That onesie.... kills me! Harry Potter and Mean Girls.... No better combination!

No bath! At all cost!

Oh I thought your paper would protect you! Ha!

...This one is for you Sophia...Just a little sneak peak at what makes me smile, or laugh until I wheeze!